Clamp User Guide
Please read below for detailed instructions on installation, care and maintenance.

Warning: Installing this bicycle product requires in-depth knowledge of bicycle mechanics and professional-grade tools. If you do not have the proper tools or knowledge to perform this installation, please take your bicycle to your local bicycle dealer. Failure to appropriately install this product may lead to component failure, resulting in serious injury or death.
We recommend that you have this product installed, adjusted and maintained by a professional bicycle mechanic.
Specs
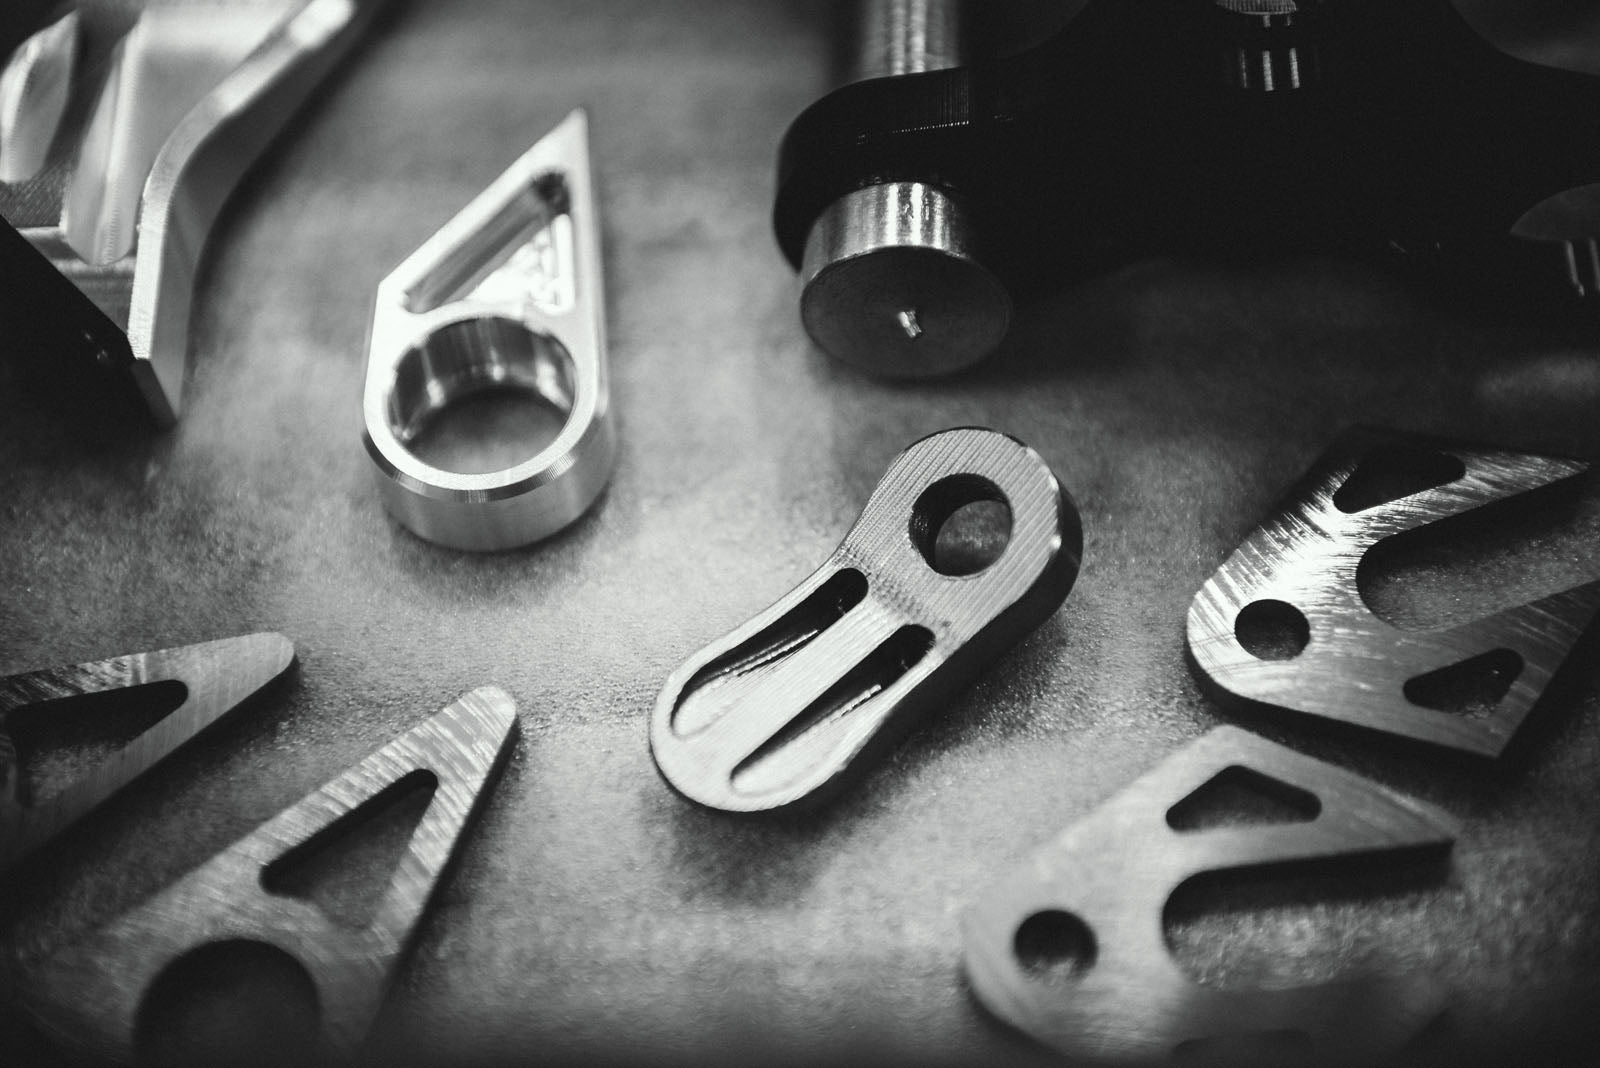
Chromag clamps (seatpost and wheel skewers) are CNC machined and hard anodized, (Quick Release versions feature brass bushings), M6 allen key bolt (seat clamp) and a chromoly axle (wheel skewer).
Compatibility
Chromag seat clamps come in four sizes (30mm, 32mm, 35mm, 36.5mm) and each size should only be used with the corresponding seattube diameter. Refer to frame manufacturers guidelines for the correct external seat tube diameter.
Please note that Chromag uses round numbers with the seat clamp sizing. The above sizes correspond to 29.8, 31.8, 34.9, 36.5mm sizes.
Wheel skewers have 5mm axles and are for dropout widths 100mm wide (front) and 135mm (rear).These clamps are designed for use on bicycles with correctly aligned and spaced forks and frame dropouts. Incorrectly aligned and spaced hubs can compromise the action of the cam and may not provide sufficient clamping force to hold the wheel in the frame.
Installation - Wheel Skewer
- Lubricate the skewer, the threads and the surface of the brass bushing with a light grease.
- Remove the tension-adjusting nut and left cone spring.
- Pass the skewer through the hollow axle of the hub.
- Slip cone spring over the threaded end of the skewer axle, with narrow end of the spring facing the hub.
- Thread on the tension-adjusting nut.
- Place wheel into frame, making sure the quick-release lever is open and seating the wheel axle firmly in the dropouts.
- Tighten the tension-adjusting nut until it touches the frame dropout. Close the quick-release lever. It should take some force to do so. If there is a considerable lack of force required then open the lever and tighten the tension-adjusting nut some more. If it takes a lot of force to close it or it doesn’t cleanly close then open the lever again and unwind the tension-adjusting nut. It may take some experimentation to find the correct tension.
- The quick-release lever of the rear skewer should be mounted on the non-driveside of the frame.
- To remove the wheel reverse the steps above for installing and closing the skewers. Installation - Seat Clamps
- Lubricate the clamp, the bolt threads and the surface of the brass bushing with a light oil.
- Loosen the tension-adjusting nut
- Slide the clamp over the seattube. There is a ridge that prevents clamps being placed upside down.
- Tighten the tension-adjusting nut and close the quick-release lever. It should take some force to do so. If there is a considerable lack of force required then open the lever and tighten the tension-adjusting nut some more. If it takes a lot of force to close it or it doesn’t cleanly close then open the lever again and unwind the tension-adjusting nut. It may take some experimentation to find the correct tension.
Care and maintenance
Keep your QR / Skewer components clean. Regularly grease the bushing surface, cam/lever surface, and barrel nut.
Do not force the lever. Use the tension-adjusting nut to find the correct tension. Over tightening can cause damage to the assembly parts and/or the frame, and may lead to failure which can cause injury or even death.
Orientate the quick-release levers so they can’t snag on clothing or other objects.
Regularly check the tension of QR (each ride) and apply a light film of lubrication to the skewer axle, threads and brass bushing each season.
Always make sure the QRs are fully closed. Do not attempt to straighten a bent skewer and inspect for damage after a crash or impact.
Warranty
Chromag clamps are warrantied from the time of purchase for a period of one year, or as per the local laws of the region of purchase. The warranty applies only to the original owner and covers the product only in the case of manufacturing defect. It does not cover products damaged due to normal wear and tear, damage resulting from extreme use abuse, neglect, negligence, fading of colours and materials over time or other situations that don’t qualify as normal riding or normal conditions.
The warranty does not cover modifications or installation. Improper installation of related components will void the warranty. Surface finishes such as paint, chrome, anodizing, stickers or graphic applications are not covered under warranty unless deemed qualified by Chromag Bikes. Claims can be made either through a Chromag dealer, distributor or direct with Chromag bikes. Products considered as potentially valid warranty claims must be returned for inspection and must include the original receipt. Shipping or labour costs are not covered.
