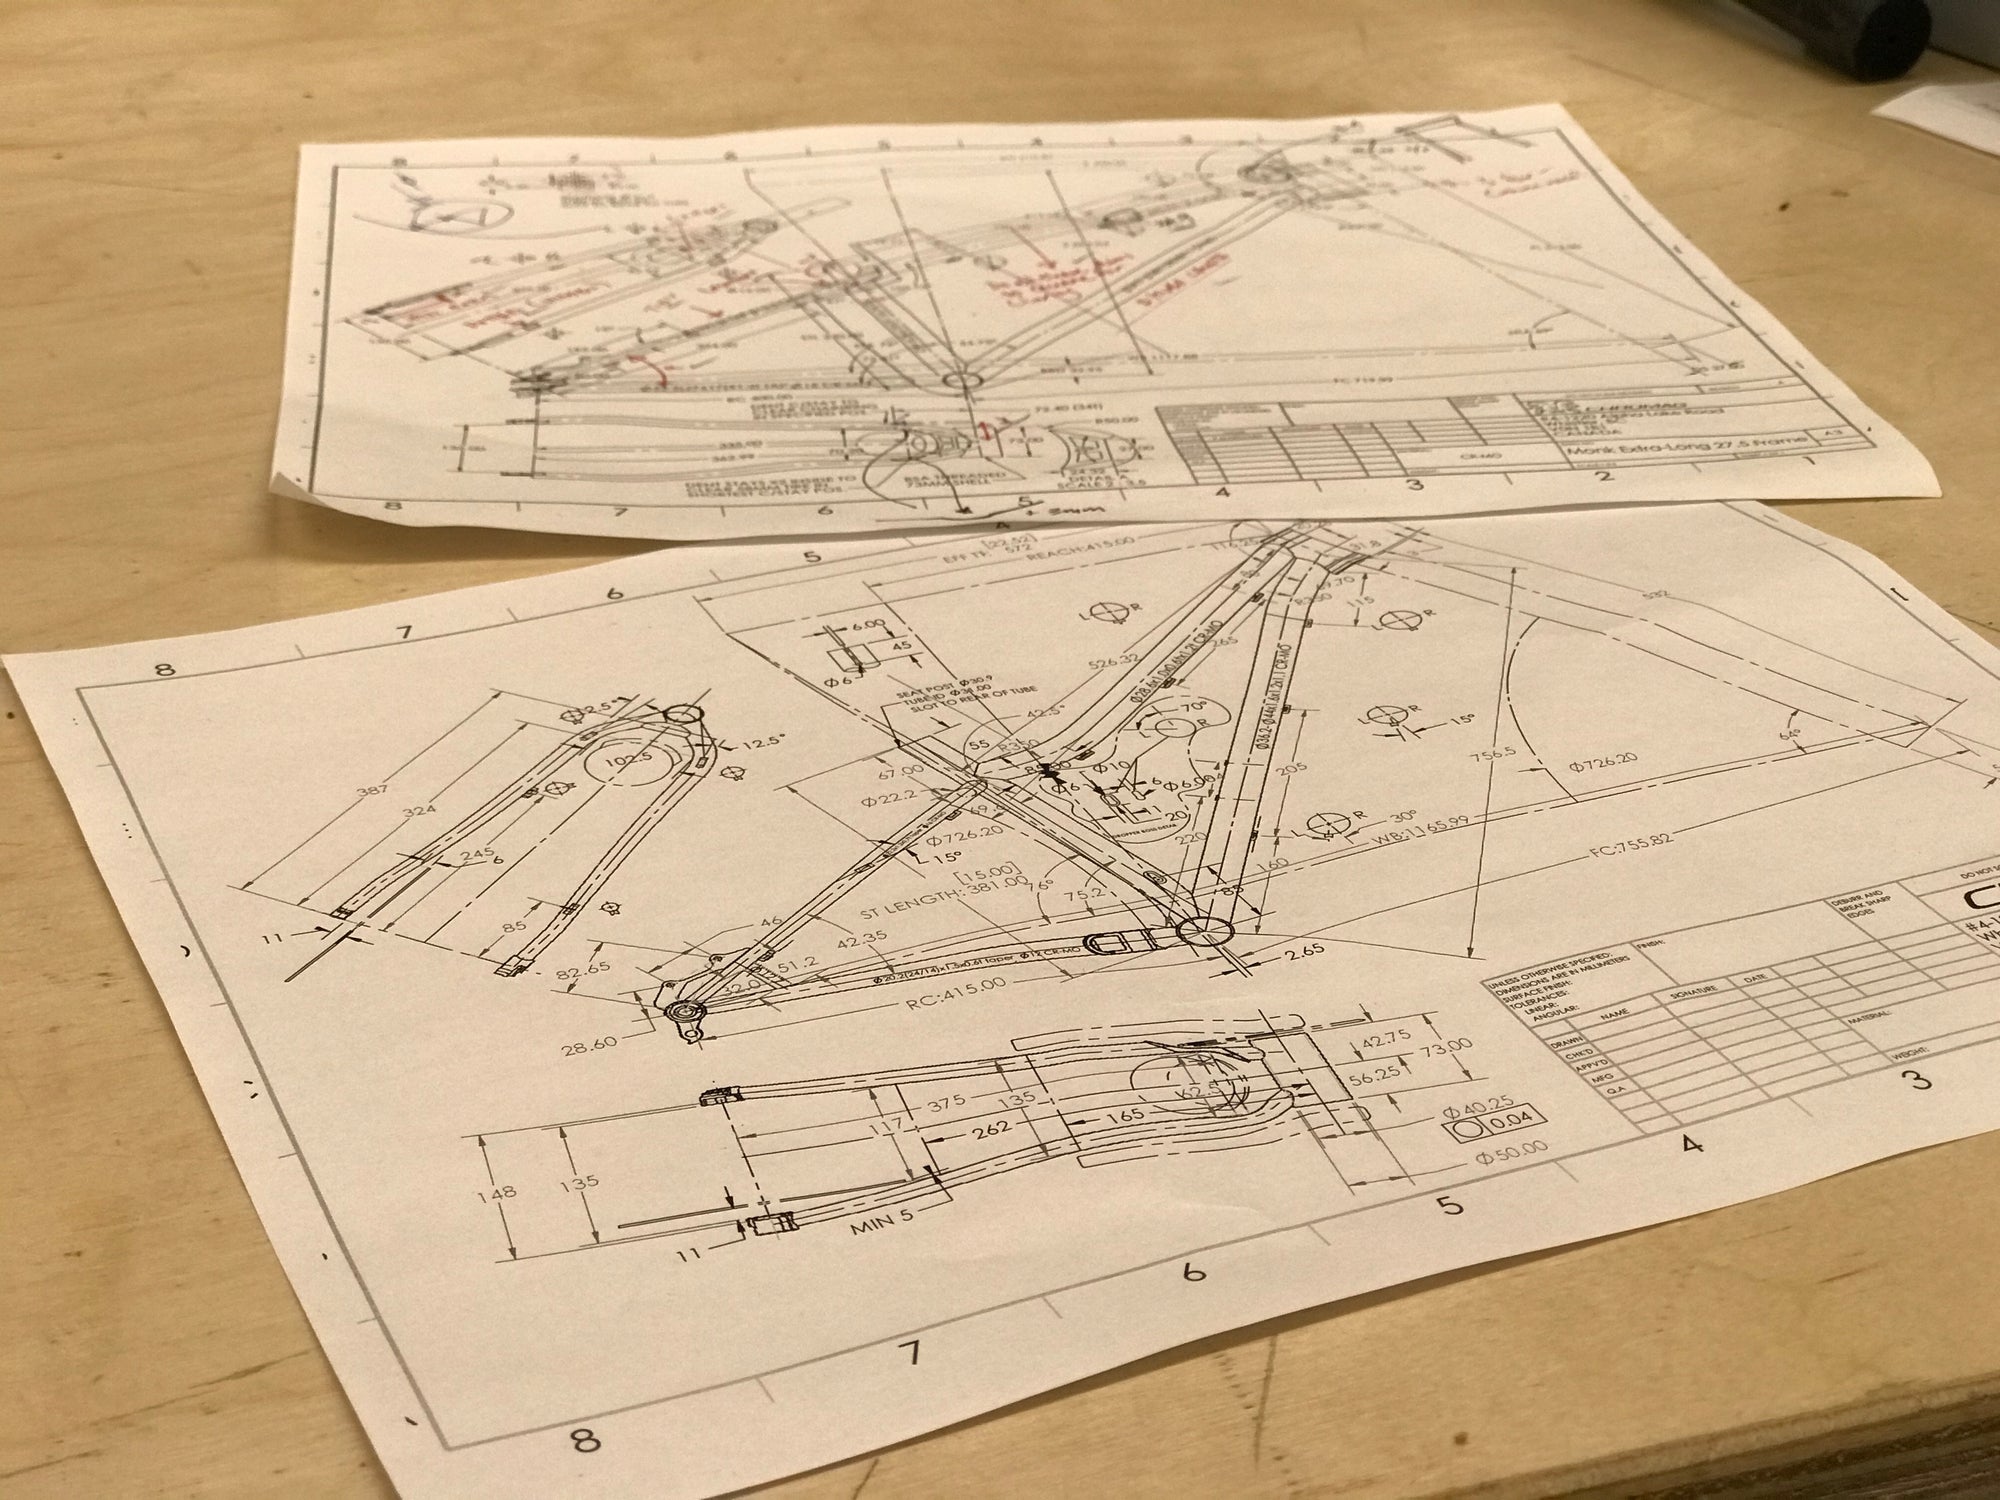
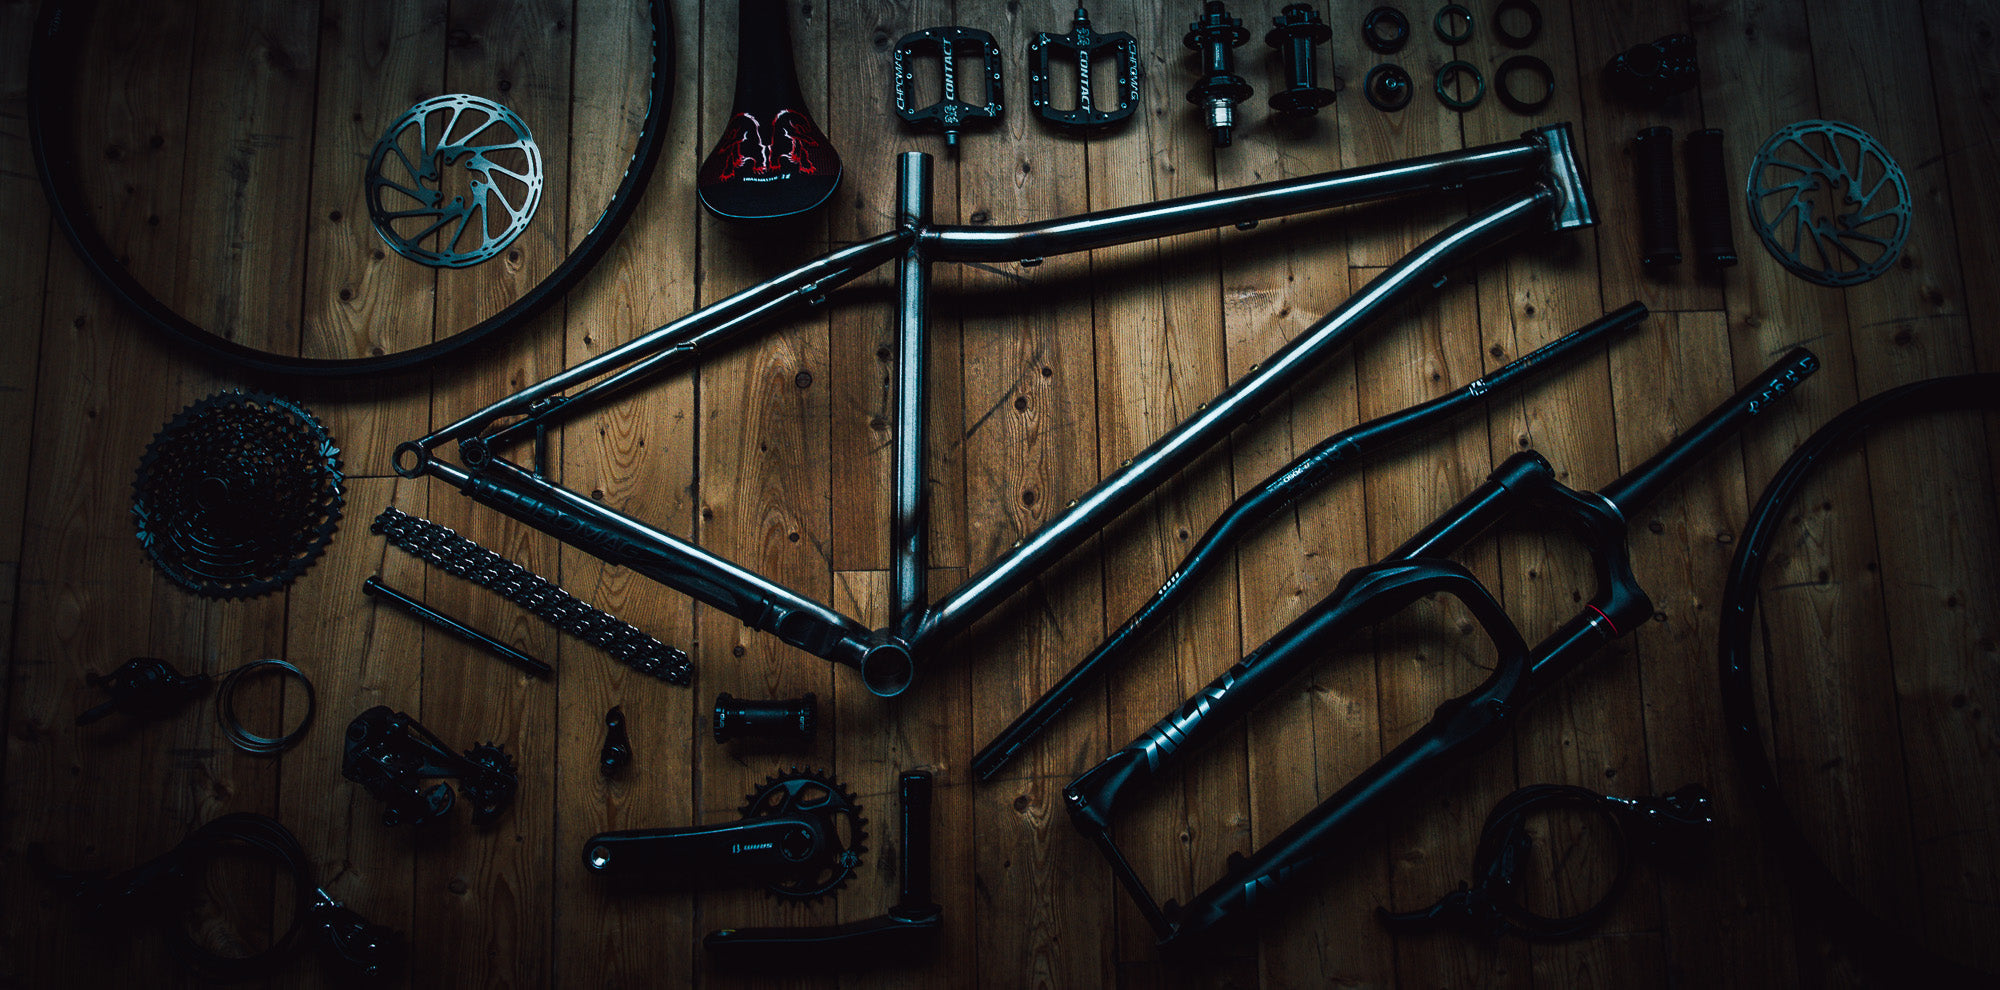
Our sales staff receive a ton of questions regarding frame sizing and geometry, and we get it – a lot of terms float around out there, and it can be difficult to know what’s important. This article aims to demystify some common geometry terms, and explain our philosophy on frame sizing.
First, a little bit of history.
It wasn’t long ago that bikes were sized largely based on seat tube length. This system worked well with road bikes when people first started caring about frame fit and geometry, because seat tubes were both really long and really straight. Saddles were also generally run with little exposed seat post, so the length of the seat tube did a pretty good job of conveying how tall you had to be to ride a certain frame size.

However, modern mountain bikes and their complexity make the task of measuring a seat tube (and keeping the method of measurement consistent) extremely difficult. With the recent introduction of the dropper post, designers are now also motivated to make seat tubes shorter to allow riders to use the longest dropper post possible. All this said, seat tube length isn’t really the best way to compare mountain bike frame sizes anymore.
This shouldn’t really come as a surprise. We can’t expect one number to accurately describe a bike’s ride characteristics on the trail. Hell, we can’t even expect numbers in general to tell us how much fun, or how fast, or how nimble a bike will be! However, we do think the following four measurements do a pretty good job of telling you how comfortable a bike will be for you, based on your size and your riding style.
Reach:

Reach is the horizontal distance between the top of the headtube and a line drawn straight up from the bottom bracket. It’s one of the most important terms in frame sizing as it conveys the way the bike feels when standing up on the pedals (descending) (the fun part). Over the years our bikes have increased in reach significantly, both as a result of steepened seat angle (more on this later), and the use of shorter stem lengths. This has helped to improve handling characteristics with a longer, more stable wheelbase resulting in better control at speed and while descending.
Effective Top Tube Length:

The effective top tube length is the horizontal distance between the top of the headtube and a line extending from the end of the seat tube. It essentially dictates the distance between your saddle and your cockpit (although this can also be varied with saddle position and stem length). While reach tells you what the bike feels like when standing up (descending), top tube length describes what it will feel like when sitting down (climbing). Shorter top tube equals more upright. Longer top tube equals more stretched out. As we discovered the handling benefits of short stems, we began to lengthen our top tubes to reap these benefits while maintaining similar saddle-to-cockpit lengths as before.
Effective Seat Tube Angle:

Put simply, effective seat angle determines your saddle’s horizontal position over your bottom bracket. The saddle of a bike with a slack seat angle (lower number) sits further behind the BB than that of a bike with a steeper seat angle (higher number). This effect is most noticeable when climbing.
We have a lot of steep terrain to climb around Whistler, B.C. and the rest of the Pacific Northwest. As a result, we tend to design our bikes with quite steep seat angles. This helps to position the rider further forward, between the wheels, resulting in a better climbing position. Here's why.
Take a look at the graphic below. You can probably imagine that the steeper the incline, the further back the force of gravity (M1) will meet the ground. With a bit of imagination, you can also probably visualize that as soon as M1 lands behind your rear wheel's point of contact (R1) as shown in the graphic, R1 acts like the pivot point of a teeter totter, bringing your bodyweight down and your front wheel up. You may know this as the notorious "loop-out" - never a good time.

It’s our goal as designers to keep the rider’s weight in between the wheels' contact points on as steep an incline as possible to avoid this frustrating and sometimes painful experience. This is done by steepening the seat angle. The next graphic illustrates a better situation - the rider's bodyweight is now acting to bring the front wheel down, keeping it planted on the ground.

Head Tube Angle:

Head tube angle is the angle between the axis of the head tube and the horizontal. A slacker head angle puts the front wheel further in front of you, making the bike feel more stable on steep terrain. However, too slack a head angle compromises a bike’s handling and can work against the seat tube angle’s effect of centering rider weight. Hardtails, however, can get away with a slacker head angle than full-suspension bikes because with no rear suspension, the sagging of the front end steepens the head angle significantly. As a result, a hardtail with a 62° head angle can have a similar dynamic feel to a full-suspension bike with a 64° or 65° head angle. The Doctahawk, with its aggressive on-paper geometry but astonishingly well-balanced ride characteristics, is a perfect example of this concept in practice.
If you made it this far, thanks for joining us to nerd out about bike geometry! While it's all still fresh in your mind, go check out some bikes!


